Installing custom floating shelves
How do you like to learn? Scroll down for on page installation instructions,
A Downloadable PDF Guide and an installation video
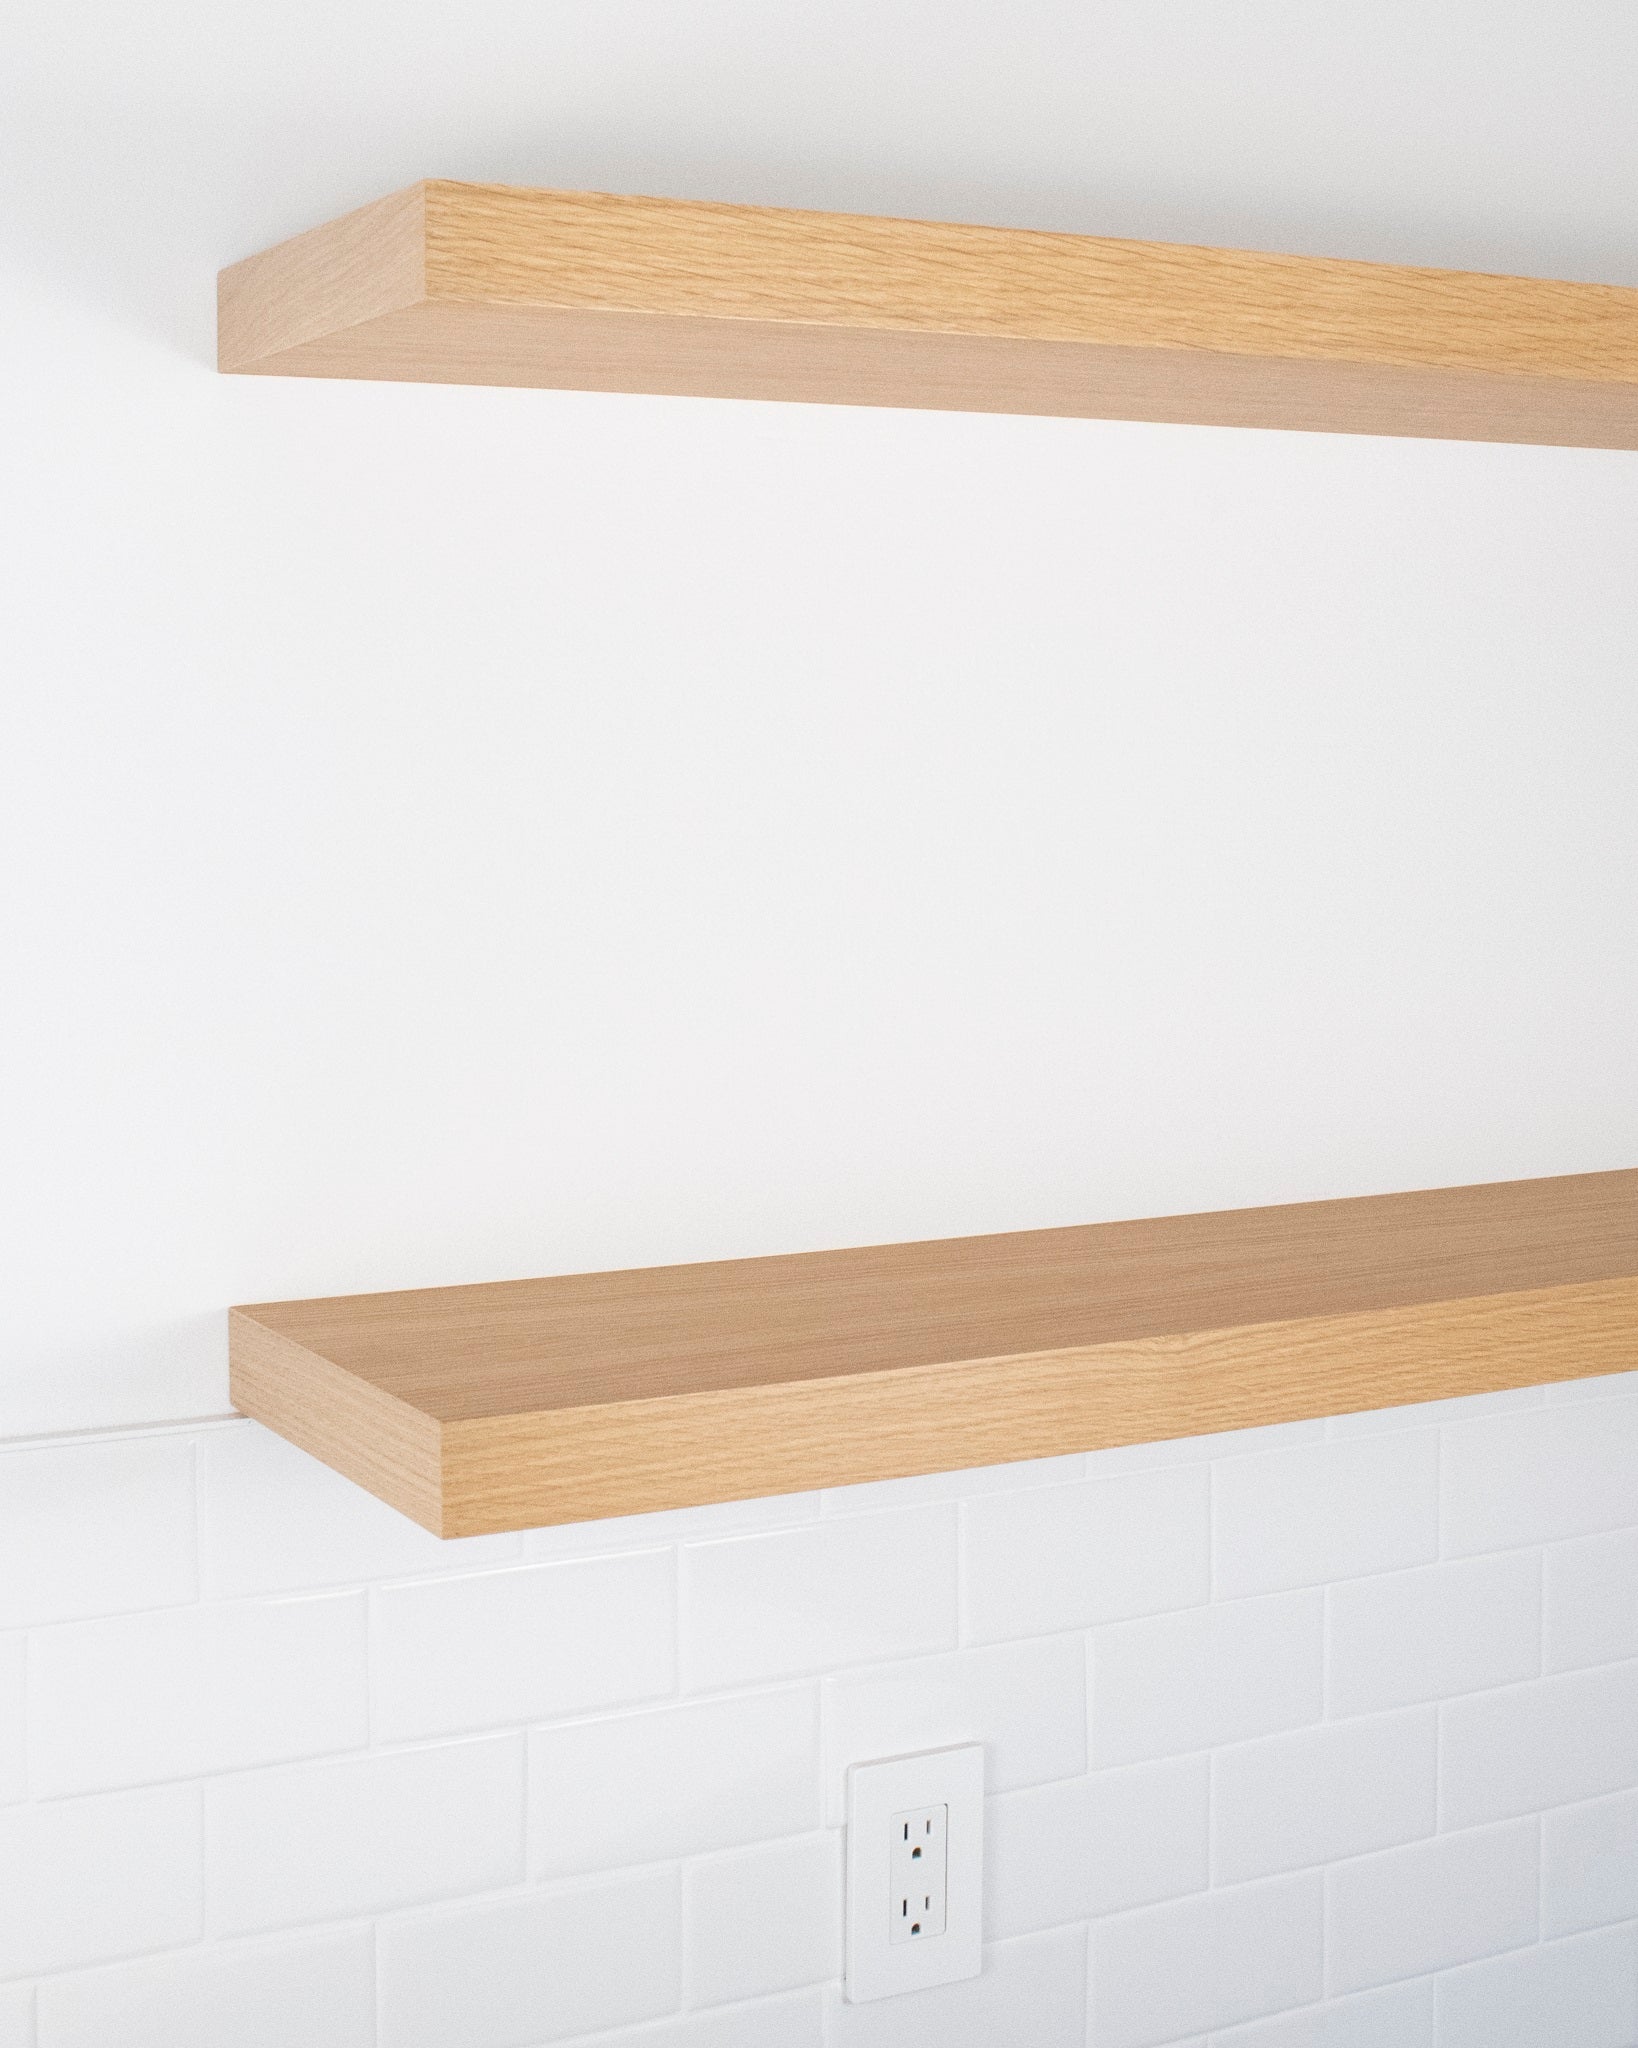
Lots of advanced DIY’ers have successfully installed our shelves however keep in mind some installations may require tools and skills that are beyond most DIY’ers in which case it’s a job for a seasoned and skilled finish carpenter.
How to install custom floating shelves
STEP 1
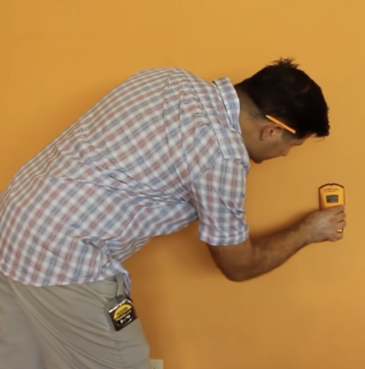
Locate the studs in area of installation.
STEP 2
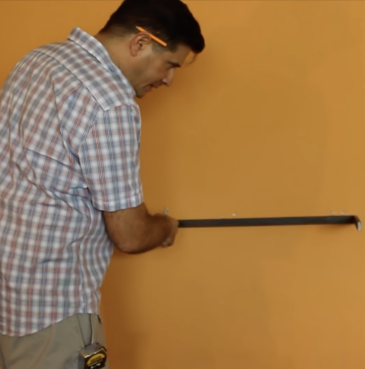
Position the top of the steel on the wall 3/8” below the top of the desired shelf height and 1 1/2” in from ends. Mark the steel at each stud location.
STEP 3
At each stud location, drill a 17/64” clearance hole in the steel for the screws provided.
STEP 4
Drill 3/16” pilot holes in the studs, attach the steel bracket with the screws provided. At this point steel bracket must be made secure and level.
STEP 5
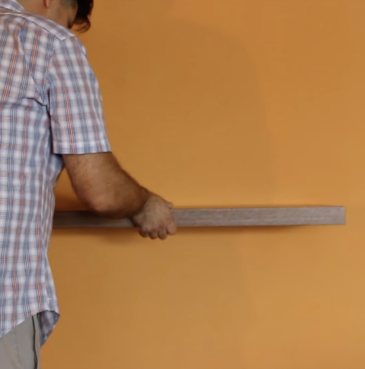
Fit the wood shelf onto the steel bracket. You may scrive as much as 1/4" from the back edge of the shelf to match any unfairness in the wall.
STEP 6
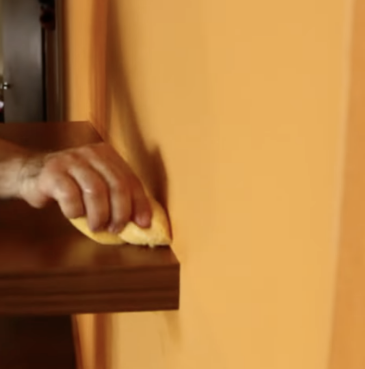
The wood shelf must be secured so it cannot slide off of the steel bracket. Apply a quarter size dallop of painter's caulk to ends of the shelf where it meets the wall and clean off any excess. Note: do so in a manner where shoud there be a future need to remove the shelf it will be possible to work a thin putty knife between the shelf and the wall to cut the adhesive.
How to install narrow (6" and under) custom floating shelves
NARROW SHELVES 6" AND LESS USE DIFFERENT HW
Watch compact shelves video for full detail
Installation best practices for specific cases
A. Crushed drywall. Drywall/sheetrock is the #1 point of failure in floating shelf installations.
Watch this video to prevent-fix crushed drywall or read the below instructions:
Drywall sometimes cannot handle the compressive force of being sandwiched between the shelf bracket and the wood studs. Older drywall is usually better, new drywall is reliably unreliable. Even if at first it seems to be holding together, we have seen enough instances where later the drywall caves in and the shelf is going downhill. In older construction with plaster walls this rarely occurs.
In any case this condition is simple to resolve or prevent in the first place:
- Use a 1.5” holesaw to chase each pilot hole at the stud locations.
- Cut all the way to the face of the stud to remove a cookie size piece of drywall.
- Now use the same holesaw to make some toy car wheels cut from wood of equal thickness to the drywall, ½” in most cases. You want to use a good dense wood, I like to use OSB or plywood.
- Put these in place of the drywall at each stud location to make a solid connection between the building structure and the steel shelf bracket.
- Alternatively, stacks of ¼” x 1-1/2” fender washers can be used.
B. Can floating shelves be attached to steel studs?
Generally No. You might be OK if the shelves are shallow. If they are just ledges, like 6″ deep, it might work okay, but if you aim to put deeper shelves and load them up with books or anything heavy then forget it, you need to open up the wall and add blocking, wood studs, or another suitable bracing to attach to as well as stiffen the wall. The lag screws provided will not work with steel studs. Please refer to the installation guide video, as well as share it with your contractor and let them figure out the best way to proceed.
C. There is some play between the space inside the shelf and the bracket.
Usually this does not create a problem. If you decide the play is going to be a problem, some layers of masking tape on the steel bracket can be used to take up the space. Don’t make them too tight or pushing the shelf on could cause the shelf to split. That is very bad and will surely upset your client.
D. Installing floating shelves on a tiled wall
If the wall is already tiled, use a 1.5” diamond drill at each stud location behind the bracket. Core out all the way to the face of the stud, but not into the wood. Use a vacuum to remove any dust from the hole. If the wall is not yet tiled, use a 1.5” holesaw to core out the sheetrock at the exact location where the bracket will be bolted to each stud. This layout must be done very carefully so your shelves will be level from left to right. At this time, you will also want to take into account where the grout lines of the tile will lay out relative to the shelf location so it will have the best possible visual presentation. When installing the tile, carefully cut around the 1.5” holes. The shelf is 1.75 thick. It will only cover the holes if the cuts are made with that in mind, and if the initial layout was done correctly. When the tile is in place, make some 1.5” dia. wood spacers that will bridge the distance from the face of the stud to the back of the shelf bracket. These must be equal or just slightly greater than the total thickness of the sheetrock and tile. The simplest way to make these it to get a piece of wood that is the right thickness and use the same 1.5” holesaw from before. Use a good hard wood that won’t compress like OSB or hardwood plywood. Alternatively, stacks of ¼” x 1-1/2” fender washers can be used. You may need to get some longer lags than the 3” ones we provide. You want a good 2+” of thread embedment into the base material (studs). The brackets when bolted tight should be either not touching the tile or barely touching, otherwise the pressure from tightening the bolts will easily break the tiles.
E. Installing small shelves under 6"
Watch this video on how to install small shelves under 6"
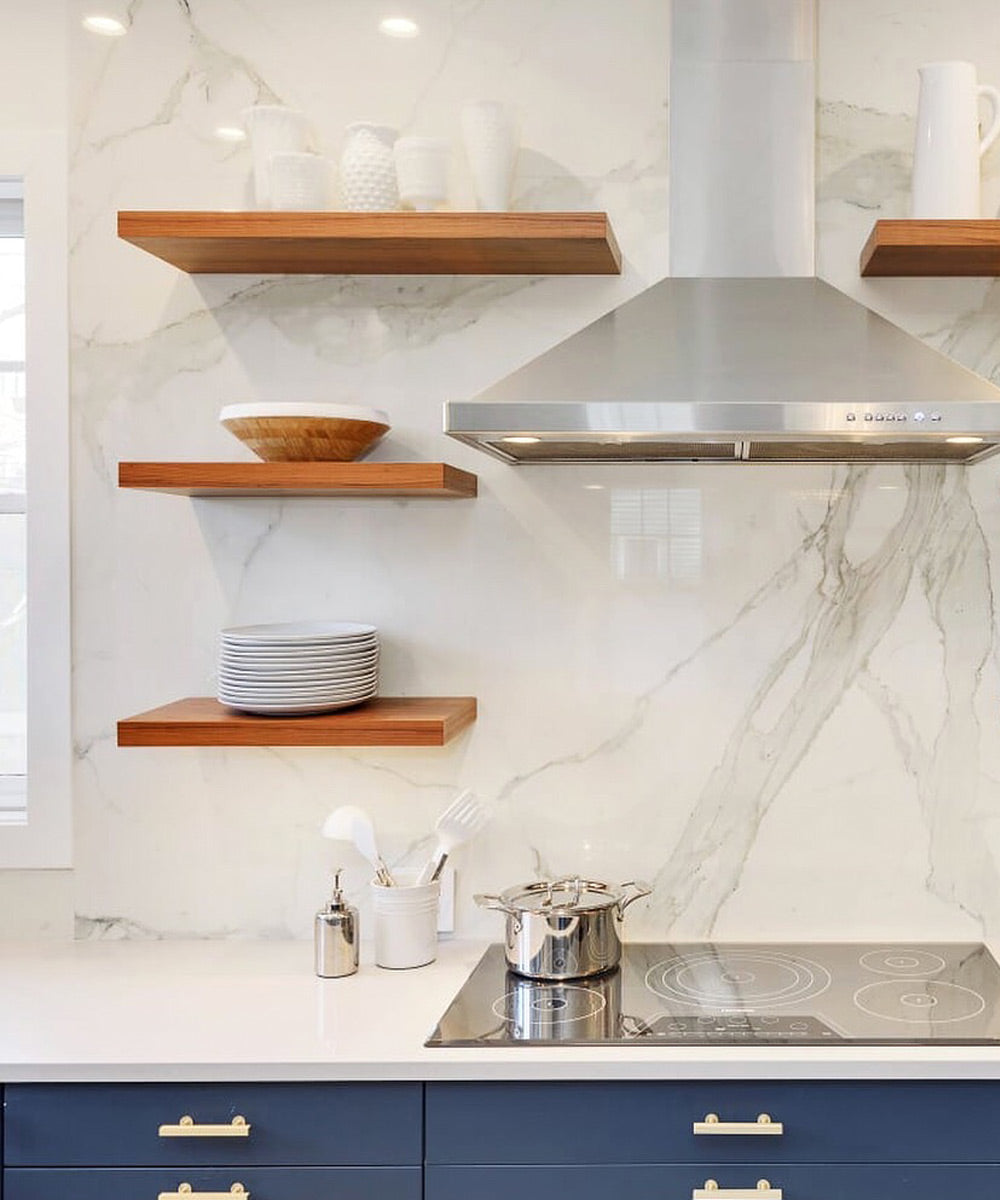
Our floating shelves were designed for the building professional. Lots of advanced DIY’ers have successfully installed our shelves however keep in mind some installations may require tools and skills that are beyond most DIY’ers in which case it’s a job for a
seasoned and skilled finish carpenter.

